How to Use AI Lightroom Masking Tools
How to Use AI Lightroom Masking Tools

Quick links
How to add a mask in Lightroom • How to subtract from a mask in Lightroom • How to intersect two masks •
The power of using AI in Adobe Lightroom
Pangolin Photo Host and wildlife photography expert Sabine Stols shares more about the New Lightroom AI Mask tools that will shave hours off your editing time if you use them effectively. In this blog, Sabine will explain what they are, how they work and, finally, show you some presets she uses in her own editing workflow.
Before we get started, let’s talk about why Lightroom AI masks are so powerful. In addition to the global adjustments that will affect the entire image, masks are designed to target specific areas within an image, such as the subject, the sky, or the background, to fine-tune colour, lighting, tonality, and other characteristics locally.
Combined with the refining, add, subtract and intersect options within the mask. You can now make complex selections with just a few clicks. Let’s start with a few easy examples before jumping into more complex ones.
Still getting used to Lightroom? Start Janine’s free course first before continuing.


In this first image taken in Botswana’s Chobe National Park, Sabine will adjust the fish eagle and the tree.
Using select subject, however, only detects the bird. Most people would now go ahead and add in the tree using a brush. Unless you were excellent at colouring in as a child, you might often over-paint and then must clean up again. Let’s show you a better way that is less time-consuming and fiddly.
Instead of using a brush to add in the missing part, instead, add it with an object mask; you have the option here to do this again with a brush covering the entire area that needs to be added or use the much quicker way of selecting the area with the rectangle tool and letting Lightroom AI work its magic.
And voila. With one drag, Lightroom perfectly adds the tree to the mask. From here, you can now make any adjustments without affecting the background. To show you that this also works on a more complex background, Sabine repeats the same technique on the below image of a male Jacana and its chick. Once again, Lightroom does not detect the little one as part of the subject, so Sabine adds an object mask.

What if Lightroom only detects a part of the subject or area? No problem. You can do precisely the same. Draw a rectangle around the part you want to add to the mask. And there we go. As a little bonus step, whenever Lightroom may not detect a subject at all because the background is too similar, use the object mask instead. More often than not, this has worked great for Sabine.
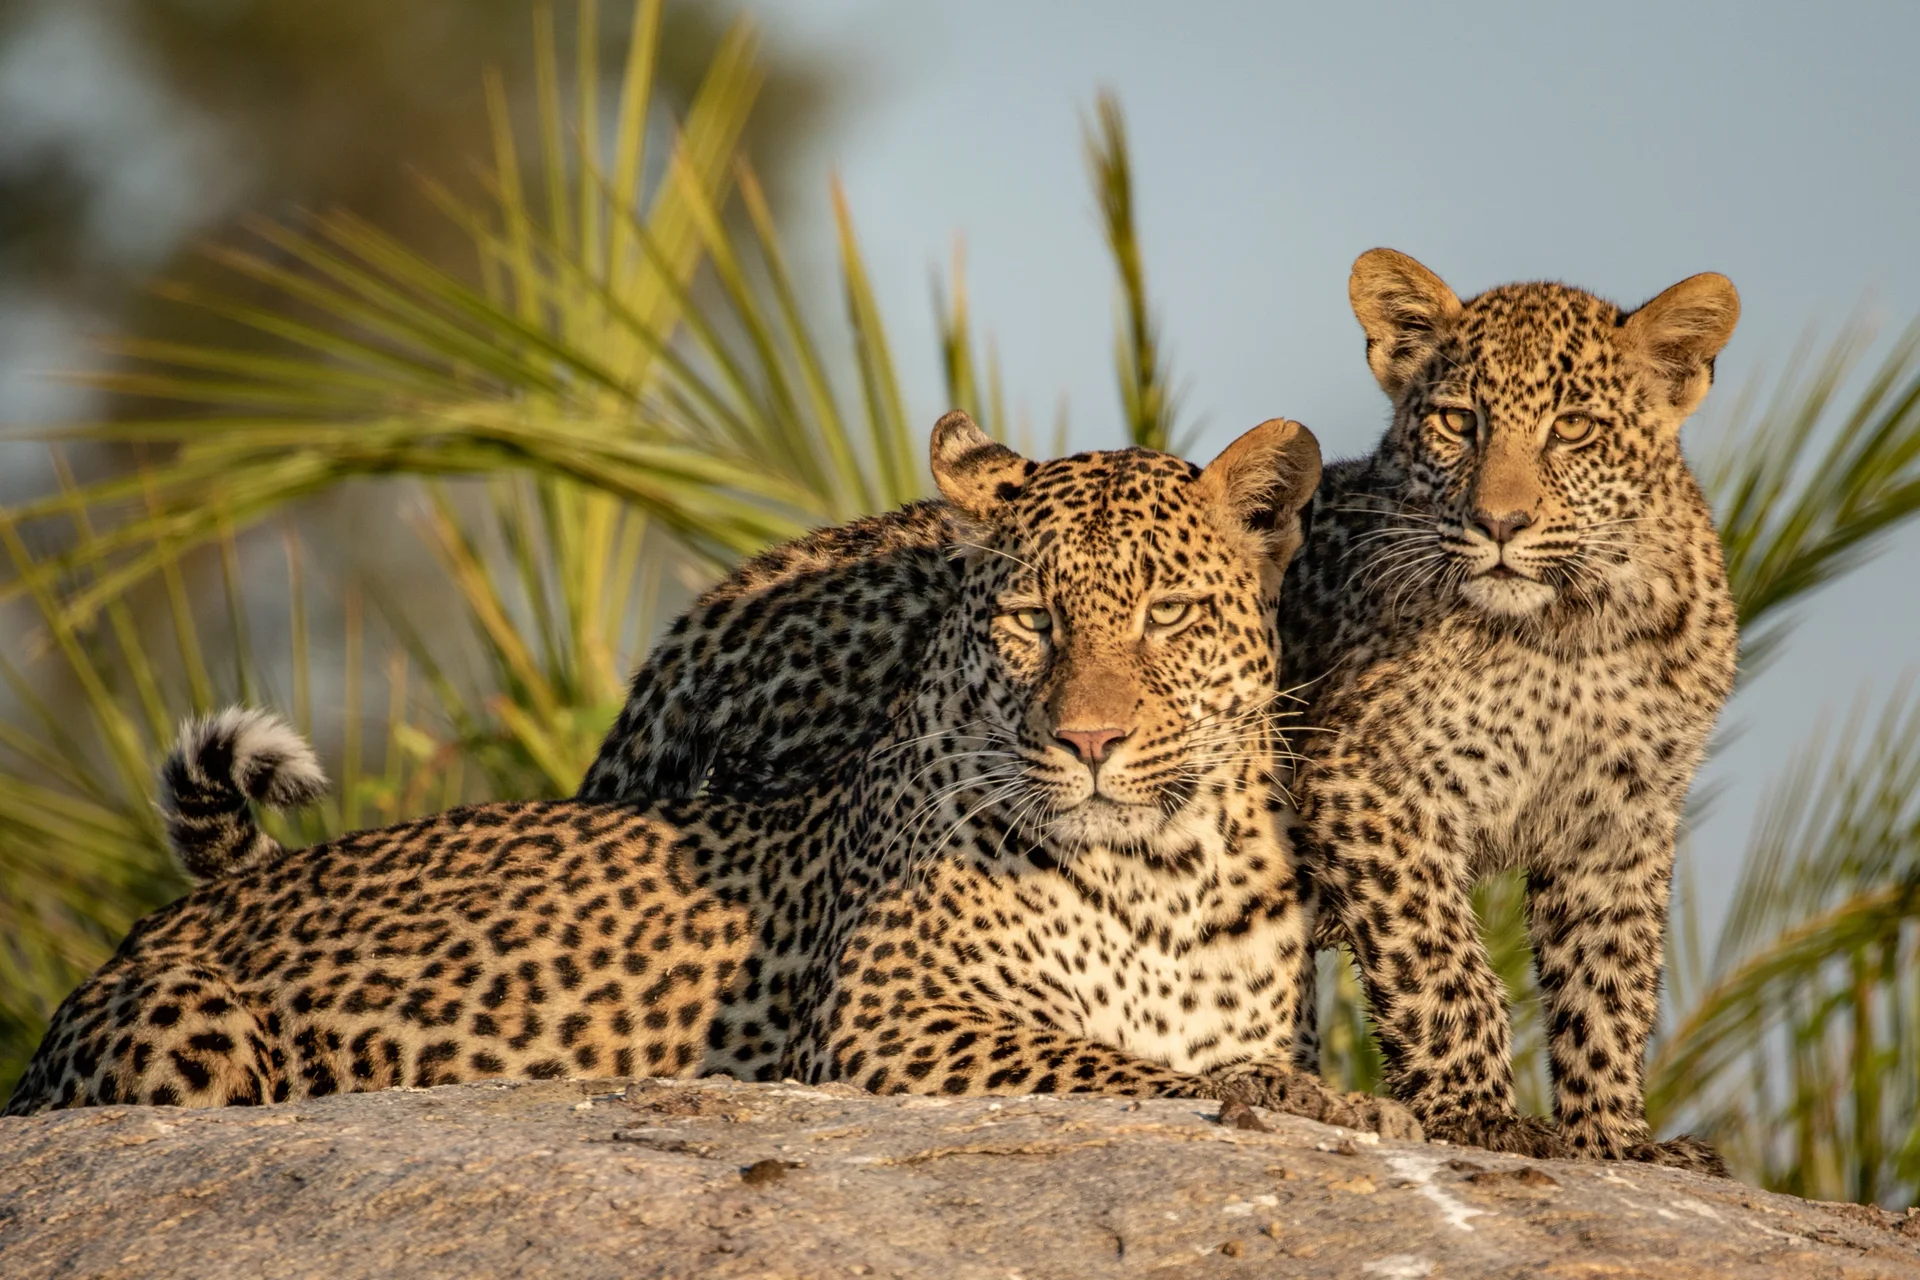
Now that you know how to add to a mask easily, let’s walk you through a few examples of subtracting from a mask when prompting Lightroom to mask the subject. In this image of a leopard taken in the Okavango Delta, it selects part of the background too. Again, you can use a brush to subtract and paint between the leopard and tree and between the front legs, but you can also do it an easy way using subtract in combination with a mask of the sky.

In this next image of a beautiful half-coloured kingfisher, Sabine would like to adjust the exposure of the kingfisher and partially the branch on the left that is in the shade to match it with the brighter one on the right-hand side after choosing a subject mask that selects the kingfisher and the entire branch, she will use an object mask to subtract from the initial selection.
Now you can brighten the left side while keeping the background nice and dark because, as you can see, she would like to darken the branch on the right side slightly. So next, you will duplicate and invert this mask, plus subtract the background so that only the branch is included in the changes made. Let’s do one more subtract example. In this picture of a Wild Dog, Sabine doesn’t like the bright area behind the dog.
She would use a radial mask and lower the exposure to tone that down. However, doing this affects the wild dog too, which means, once again, she needs to make a subtraction from this mask using another subject mask. Sabine can now move the mask around in any way she likes, and as you can see below, the Wild Dog will not be darkened.
Now that you know how to add to a mask easily, let’s walk you through a few examples of subtracting from a mask when prompting Lightroom to mask the subject. In this image of a leopard taken in the Okavango Delta, it selects part of the background too. Again, you can use a brush to subtract and paint between the leopard and tree and between the front legs, but you can also do it an easy way using subtract in combination with a mask of the sky.

Sabine walks us through a practical example. “I want to add some exposure under the wing of this egret to do I could use a brush and paint over the area I want to brighten. At first glance, this looks okay, but let me enable the overlay so you can see how messy I worked, spilling over the edges.
Instead of spending time fixing this, I will demonstrate a much better approach. Create a subject mask. Because you only want to add exposure on the shady side, intersect the subject mask with a brush. You can now paint over the area, but watch this – there’s no more spilling over the edges, as the brush will only take effect where the subject mask is.”
Now that we have gone through the basics let’s look at a few more complex masking selections. Sabine would like to enhance the warmth in this image of a Back Lit baboon.
Sabine would like to outline where the sun shines through the fur without affecting the background. Instead of using a brush mask, which again would be messy unless Sabine spent a long time refining it, she will use the select subject mask first and then intersect it with Luminance Range Mask. The Luminance mask will target specific brightness values within an image. Since she wants to work on the brightest values only, Sabine selects a bright area as a sample with the eyedropper that is immediately available within the luminance mask.
You can also use the sliders in the menu bar to choose the brightness values or refine them. Once you’re happy with the selected area, you can make the adjustments you want. So by using a subject mask and then intersecting it with Luminance’s Range Mask, you manage to mask out the outline of the baboon perfectly. Lightroom does this quickly and easily with much more precision than Sabine ever could by using a brush.
Next up is this Majestic African Cape Buffalo. Sabine already made some basic adjustments to this photograph, and now she wants to darken and smooth out the top half of the image behind the Buffalo and apply some dodging and burning to the Buffalo itself. To do this, she uses a background mask and renames the mask, as there will be quite a few in this example.
Lightroom has trouble distinguishing between the background and the Buffalo’s head. However, in this instance, it does not bother Sabine as she will only be working on the top half of the background. And to do that, she will intersect the background mask with a linear gradient.
Now that she has selected the area she wants to work on, she can lower the exposure and decrease texture and de-haze.
Next, Sabine wants to increase some local contrast in the Buffalo using the Dodge and Burn technique. So again, choose a subject mask and rename this one to Dodge. This time though, we do need the Buffalo’s head to be included in a mask. And luckily, as we showed you before, you can do this easily by adding an object mask within this mask of the subject.
However, Sabine only wants to target the brightest and darkest areas. As this is what Dodge and Burn stand for. Sabine will intersect the subject mask with Luminance’s Range Mask to do that. Remember that you can either use the eyedropper tool to specify the brightness values, or in this case, Sabine prefers to work with the sliders instead.
Moving it over to the right will now choose the brightest areas on the Buffalo and Sabine feathers the selection a little more using the handle underneath. Next, increase exposure, contrast, and whites. Finally, switching the mask on and off allows you to see the brightened areas. Instead of repeating the entire process to burn the darker areas on the Buffalo, Sabine duplicates the Dodge mask and renames it to Burn.
Reset your previous adjustments and go back to the Luminance Range to select the darkest parts. The only thing left to do now is to darken the areas by dragging the exposure slider to the left, and here is the result before and after.

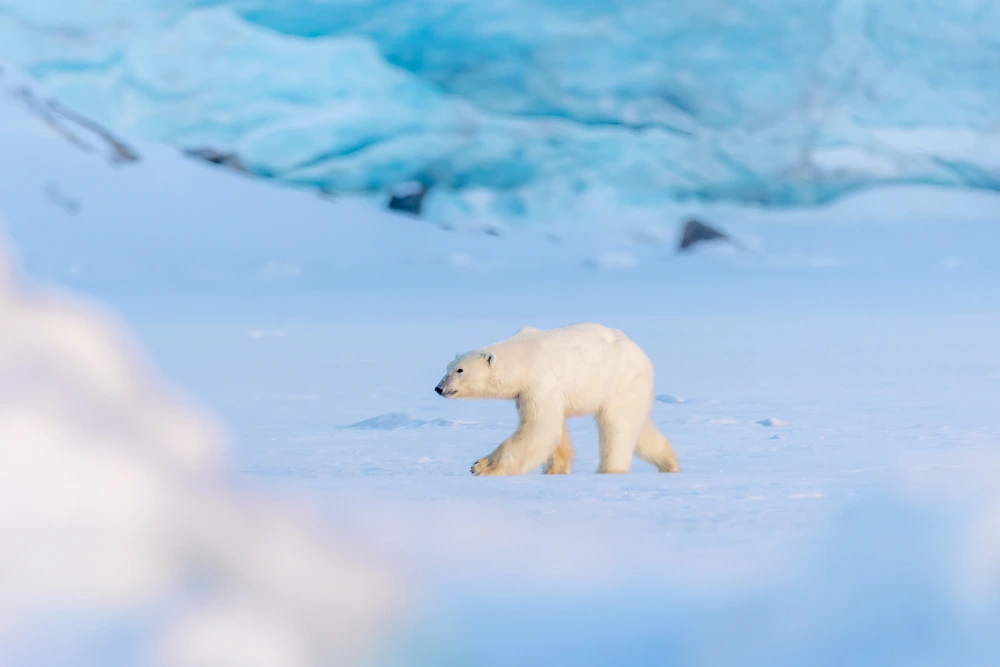
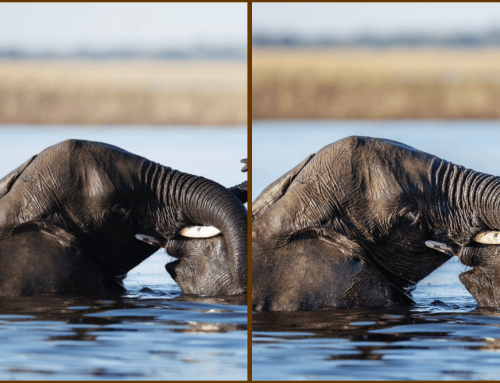
Okay, let’s wrap it up with one last example of this elephant bull walking on the Chobe floodplains.
When taking this photo, Sabine exposed for the elephant, and therefore, the sky looks somewhat washed out, whereas she is happy with the way the foreground looks. Unfortunately, adding a sky mask also selects part of the elephant. But subtract subject will fix this quickly. Sabine often sees that people lower the exposure on the entire sky mask but finds that this can create a hard and unnatural contrast between sky and horizon and between sky and animal.
For a more natural look, Sabine recommends trying to intersect the sky mask with a linear gradient letting the effect fade towards the horizon, line and subject. In addition, she will add a subject mask and subtract the area underneath the elephant via a linear gradient to refine the elephant. Next, increase exposure, contrast whites, and clarity to make the elephant stand out a little better.
Let’s see how we can create a preset using these AI masks and apply them to multiple images simultaneously. First, head to preset and hit Create Preset. Next, give your preset a name, and check all the adjustments you want to apply on the other images, including masking.
Now how to apply the presets to multiple images? Head to the library mode, select the images and use the quick develop panel on the right to find the saved preset. The AI masks will now be calculated for each image individually. So even if the framing of the subject and sky differ from image to image, Lightroom has recalculated the masks and adjusted them accordingly. A real time saver! Alternatively, you could also sync these settings within the developed mode if you do not want to create a preset.

We hope these examples helped you understand Lightroom’s masking tools better and that you can confidently use them from now on. If you want to join Sabine on safari and learn more about her incredible Lightroom knowledge, check out the safaris below!
Leave A Comment