Safari Photo Tips – Rule of Thirds
Everything you need to know about the rule of thirds
Table of Contents
- Everything you need to know about the rule of thirds
- What is the rule of thirds and why is it important?
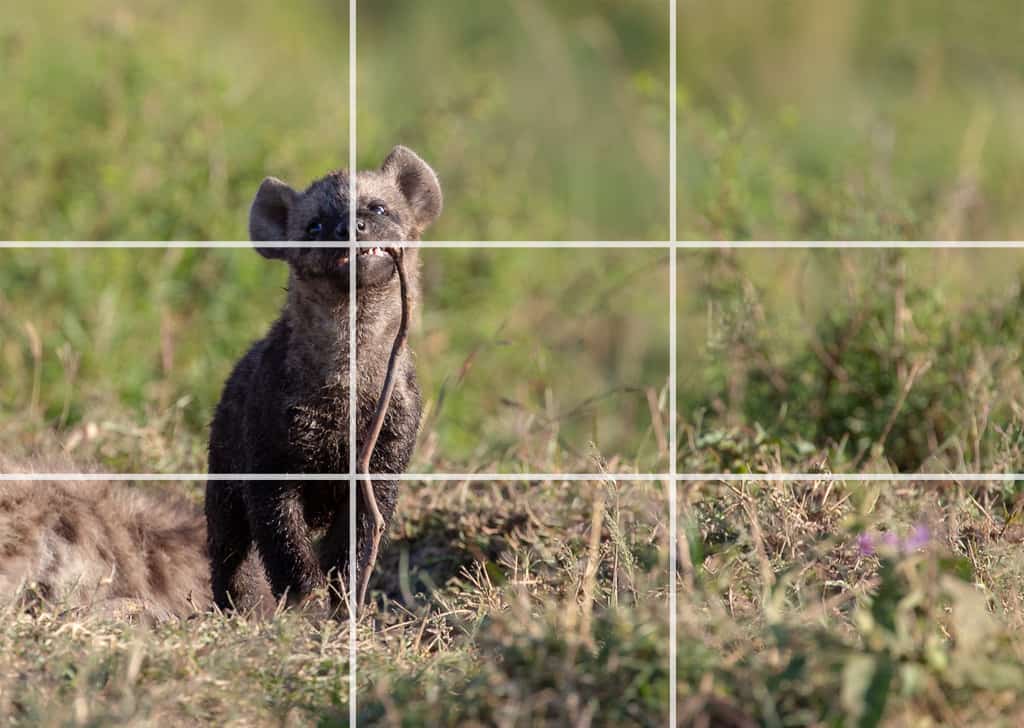
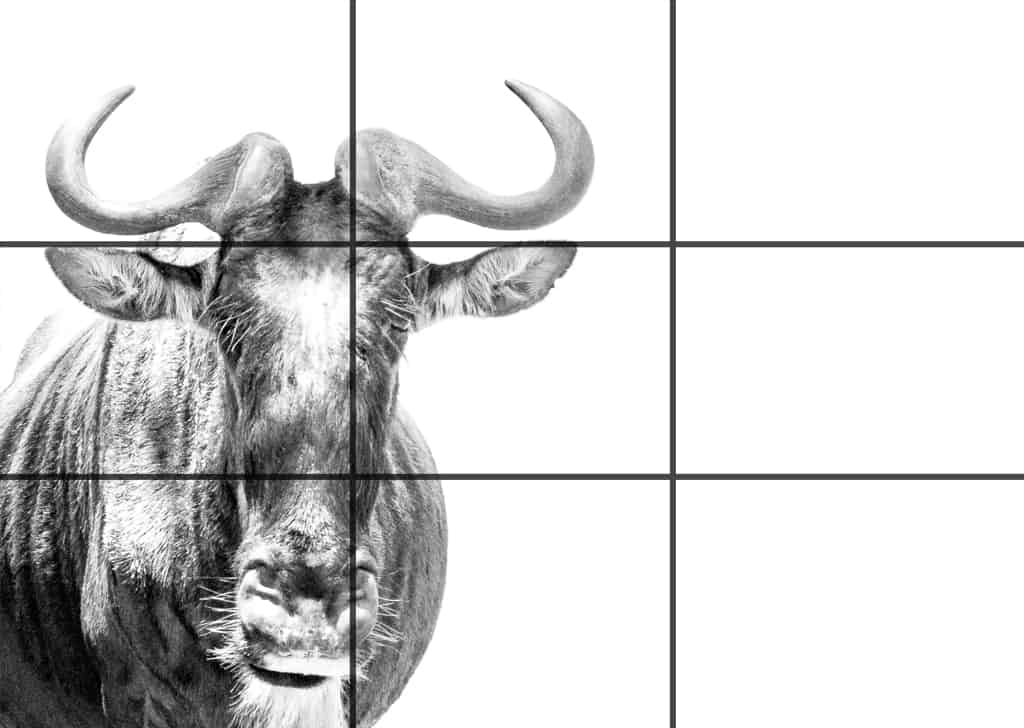
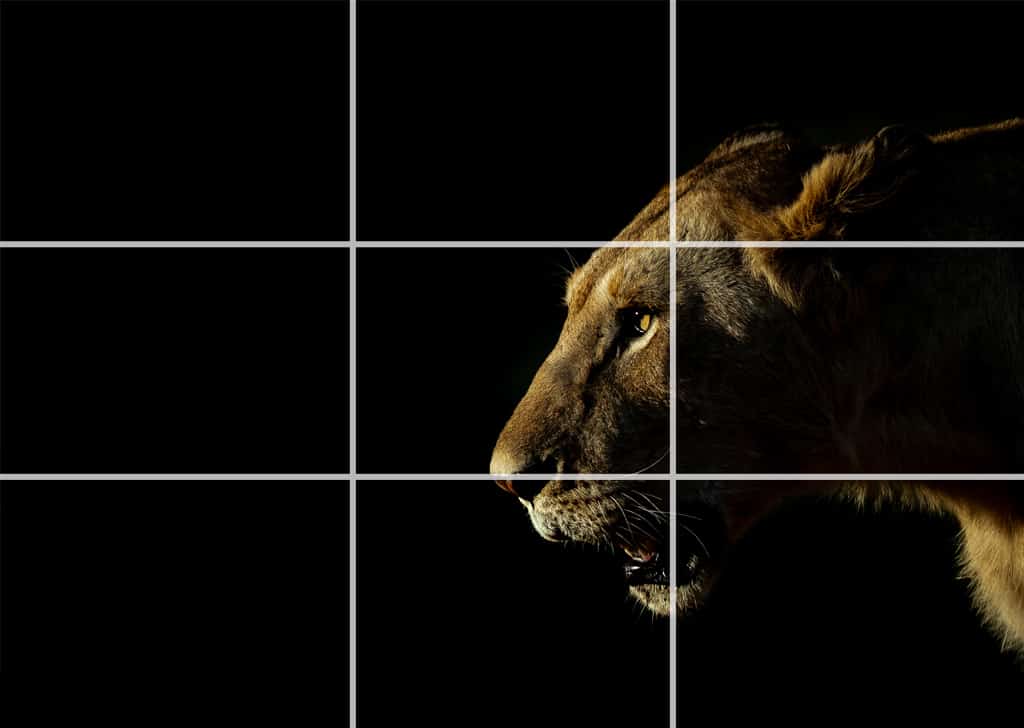
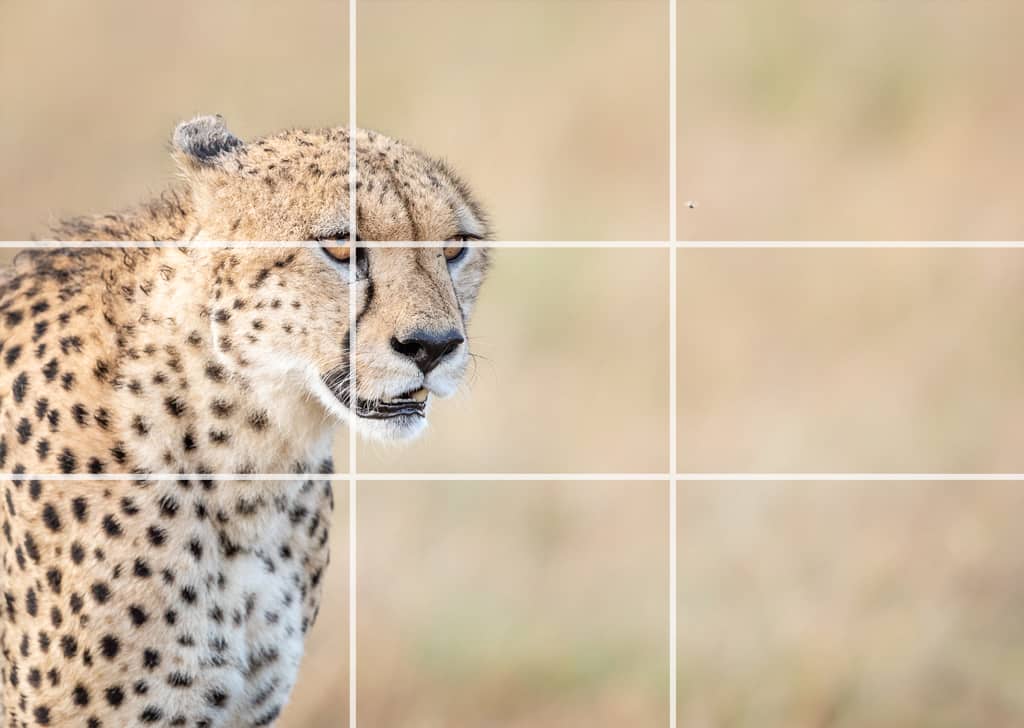
- What does the rule of thirds grid do to an image?
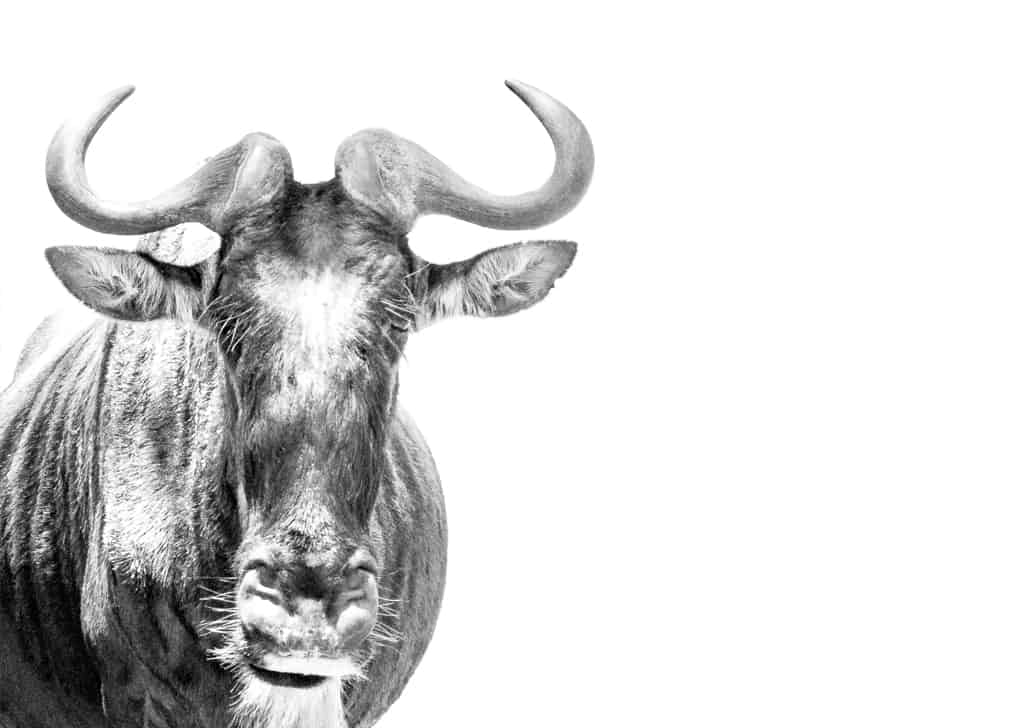
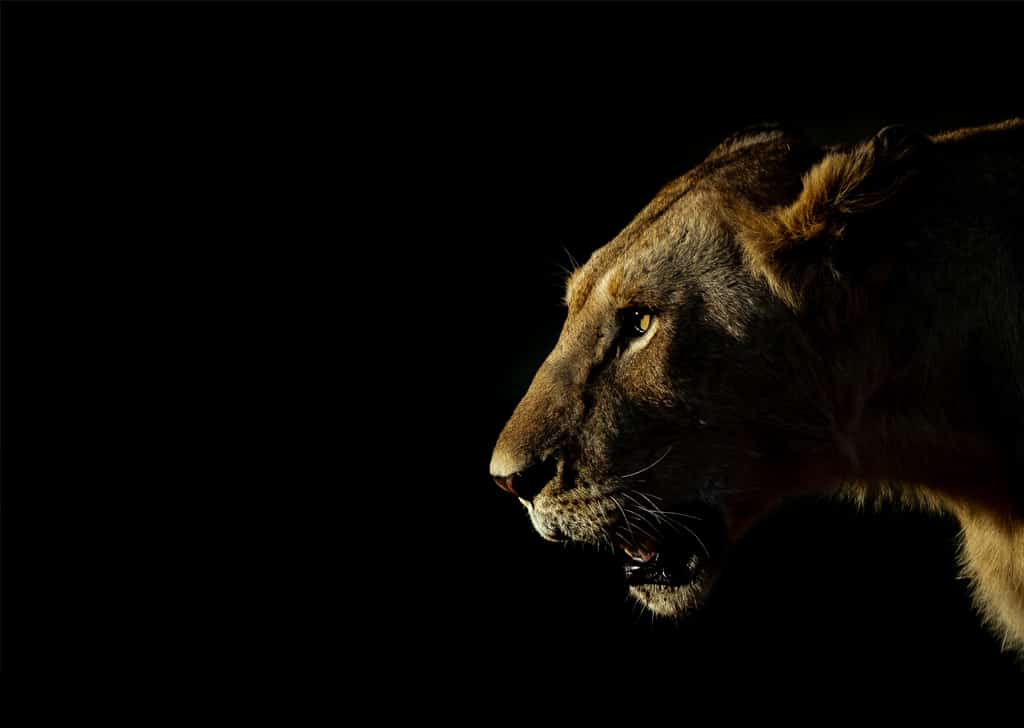
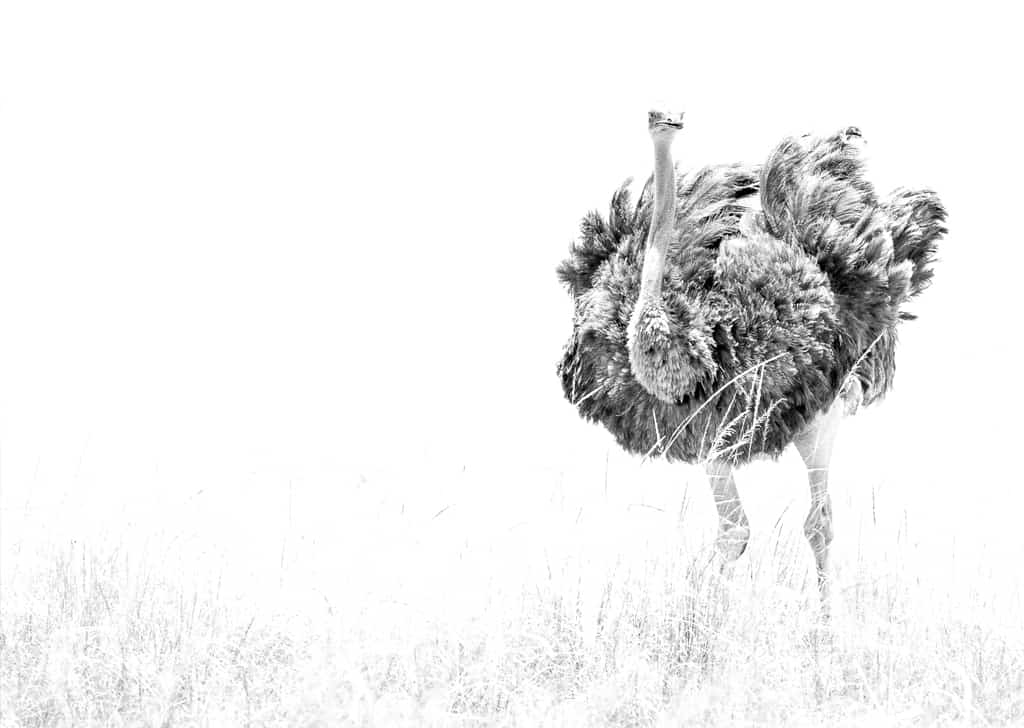
- Example images
- Why is the rule of thirds useful?
- How to use intersection points
- Can you break the rule of thirds?
- Quick tips for working with the rule of thirds
- Rule of thirds in post-production
- Key elements and examples of the rule of thirds
- More on the history of the thirds grid
- Final words
And then how to break it! You may think that photography is all about shutter speed and high key or low key technique but there is so much more to images and composition than just exposure settings. Understanding the rule of thirds and thirds grid principle in photography is a good way to guarantee getting those eye-catchy pictures and strong photographic composition. Technically speaking, this principle is a composition guideline that places your subject in the left or right third of the image, leaving the remaining two-thirds more open for a visually appealing effect. So, let’s dive into the important compositional elements.
The rule of thirds is a principle that is based on dividing images into thirds (nine equal parts) with a vertical line and a horizontal line to create stunning images. The term rule of thirds was originally coined back in 1797 by painter John Thomas Smith.
The key elements for this technique are that you then want the image’s subject positioned at the intersection points of those diving horizontal lines and vertical lines (intersecting points) or along one of them itself to create more tension. The reason the rule of thirds is important is that it does two things; balances the image out and gives it a sense of movement ultimately resulting in a more cohesive composition and strong focal point.
At the end of the day, as wildlife photographers, we are always wanting to create a more engaging photographic experience for our audience so if we can use these grid lines and thirds intersections as a general rule – it might help us turn empty areas and cold colours into something magical and more than just empty space. And while we’re at it, hone in on those post-processing tools!
The rule of thirds is a great way to creatively use negative space and intersecting points. It allows you to prioritize your subject and manipulate the focus power point of the viewer. When a subject is placed slap bang in the middle of the frame as a key element – it often feels like more of a “record” shot than a piece of art. As mentioned in the previous section, the rule of thirds adds movement to an image and ultimately creates a more engaging eye catching photographic experience that is divided evenly.


Our natural human eye gravitates toward points right beyond the centre or power point of a photo. Just like you read text from left to right, your eye also takes in an image in the same way. Because of this, the bottom right portion or lower third of an image is the most visually interesting and has a strong visual interest whereas the upper left part is most likely to be overlooked.
When using the rule of thirds grid, you will have four points of interest (also known as insection points) that work together to create imaginary lines that assist with the way humans naturally view images. In the perfect situation, you would place your subject on one of these points of interest. That’s a little easier said than done, especially with wildlife photography and moving subjects. This principle is just a guide, not a hard fact or rule and there’s always the chance to edit it later in post-production – more on that later!
Another possibility for your image is to have a main point of interest and then place a secondary subject on an intersection option point. As our minds are always trying to create shapes with images, this idea makes an invisible diagonal which is also a winner for composition.
While yes, the rule of thirds is a great way to help train your eye to look at opportunities a little differently – it’s not always the answer. There is no hard and fast rule when it comes to photography – just ideas we are potentially naturally drawn to.
What’s that popular saying by Picasso? “Learn the rules like a pro, so you can break them like an artist.”
Don’t let this rule spoil amazing shots or limit your spontaneity but just take it into consideration if you’re feeling a little uninspired or perfectly centered doesn’t work for you at the exact time.
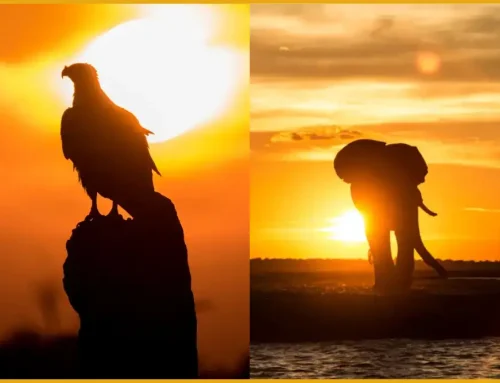
Remember, there are plenty of other rules out there when it comes to composition such as triangular compositions, the rule of odds or even just symmetry so this is just another technique to try when out and photographing or editing. If you are going to break the rule, some good ideas would be:
- Fill the frame! Allow your subject to take up a large portion of your foreground and naturally blur out the rest. This will intensify the main subject to the viewer’s eye.
- Take a step back with the thirds technique. Try putting your subject really small in the frame – then putting them dead center – this can work wonders for perspective. This technique can work really well with a landscape photo.
- Play around with different composition styles and take multiple shots – that way you can see which works best a little later.
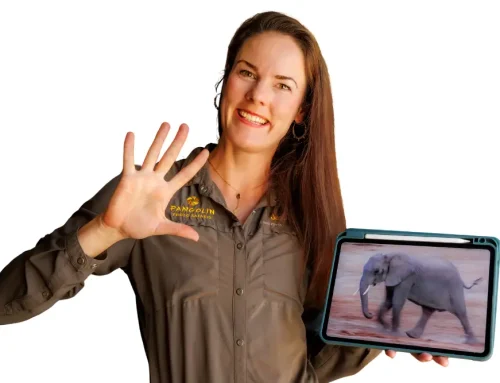
Or see what Sabine has to say about this below!
- Your camera or phone should allow you to enable a gridded overlay in the viewfinder. Once enabled, should help you work out your composition on the move.
- Play around! If you can, keep the subject the same and put it on different third lines – that way you can get a feel for what you like.
- Once you’ve done that, photograph the subject dead centre in the frame.
- Take some images where you give your subject plenty of space so that you can have plenty of options for later.
- Once you’re back in front of your computer and editing, pop the gridded overlay on in your editor (Photoshop or Lightroom) and then play around with where your subject is and crop accordingly.
Of course, getting the shot you would like with your camera is ideal but it’s not the end of the world if you don’t – that’s what editing software and post-processing are for! So yes, while it’s a good rule to get the image you want as close to perfect with your camera for the sake of visual information and quality there is always the option to edit the image to fit into a rule of thirds composition afterwards. Thank goodness, editing software has come so far in the last decade and most cameras retain way more information.
Just like anything, training your eye to see in the rule of thirds will take time but once you start cropping with the thirds grid overlay you will slowly but surely see what looks best and with time you’ll be able to crop your scene like a pro.
Have a look at these thirds related articles from Adobe to learn a little more about post-production and better compositions for landscape shots.
Pangolin Photo Host, Sabine Stols, shares an example of the rule of thirds and how the thirds work. Again, this is just an idea about how to create eye-catching images and an engaging photographic experience with these grids and thirds works.
Earlier we mentioned that the artist John Thomas Smith coined the term rule of thirds when he wrote a short book entitled Remarks on Rural Scenery. Smith asserts in what may be the longest sentence:
Analogous to this ‘Rule of Thirds’ (if I may be allowed to so call it) I have presumed to think that, in connecting or in breaking the various lines of a picture, it would likewise be a good rule to do it, in general, by a similar scheme of proportion; for example, in a design of landscape, to determine the sky at about two-thirds; or else at about one-third, so that material objects might occupy the other two…
Can you believe that this rule, all this talk about thirds and the rule of thirds came about because of a discussion about how much contrast there should be between cold colors and warm colors?
Whether you are looking at a wildlife or landscape image, understanding where the horizon falls and how that works with how the various dividing lines intersect, is only going to help you with a better composition of your image. Not to say that shutter speed and other techniques aren’t great but it’s always fun to try new things like the rule of thirds.
Let’s just say that the rule of thirds can easily be remembered with buzzwords like intersection point, four lines, thirds, top third and three columns. So next time you’re looking to perfect your image – just remember this thirds rule.
If you have an example image to share be sure to tag us on social media. We would love to see how you produce images with your newfound rule of thirds skills!
Come on safari with us