Top 10 Beginner Wildlife Photography Tips
Table of Contents
In the video below you will watch Pangolin Photo Host Charl Stols share his top 10 beginner wildlife photography tips and then below that is an additional list created by all the photo hosts together. Enjoy!
We know there are plenty of lists of photography tips out there to help you improve your wildlife photography and they are pretty much the same old story. So we asked the Pangolin Photo Hosts to come up with their own version specifically aimed at beginners wanting to get into wildlife photography. As with all our teaching, we like to keep it light and fun at the offset and we hope you enjoy our list.
Believe it or not, we have clients arriving in Botswana sometimes with their cameras still in their original packaging and they can be found scouring the manual just before the game drive. This is such a waste.
Knowing your camera and how it works is an essential part of becoming a better wildlife photographer. You need to know where the buttons are and how they work or react to your inputs. You should be able to change a setting without your eye having to leave the viewfinder as that second or two not concentrating on your subject can ultimately be the difference between great shots and missed shots.
Even if you simply practice your photography skills on small birds in your garden or photograph the family pet you have to spend time with your camera in your hands. There are no shortcuts here.
We suggest figuring out five go-to shutter speed choices that will cover all of the situations that you might encounter on a photo safari. You can read more on that in our shutter speed tips for wildlife photography here.
You need to understand exposure settings and know which mode you are going to shoot on whether that is Aperture or Shutter priority or perhaps even full Manual mode – and stick with it.

Pangolin Photo Safaris guest on the Chobe River
Our golden rule for the right fast shutter speed is that the shutter speed should be twice the focal length as a minimum if you are handholding. If you are using a sturdy tripod for example this can be slowed down….but not too much.
If you are shooting with a 400mm lens on full zoom your shutter speed should be 1/800s as a minimum. A faster shutter speed is always best but this is the minimum.

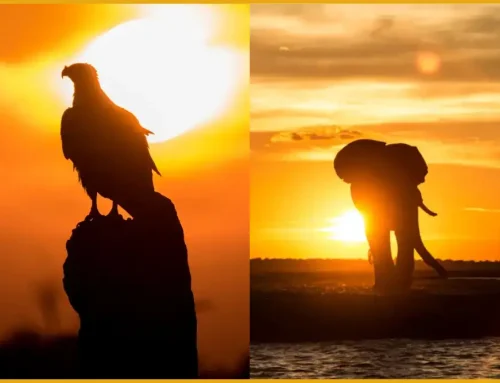
Elephant on the Chobe river at sunset © William Steel
Every wildlife photography destination is different. Is the area that you are going to photograph forested or are you going to the vast open plains of the Masai Mara? Which different animals are you likely to see? What seasonal weather patterns could affect your nature photography ambitions?
A simple way to get an idea of what to expect is a Google image search. Type in where you are going and scan through the great images taken there. Maybe search through websites like 500px, National Geographic, Natural History Museum and even our own galleries (see photo hub above!).
Then talk to the experts. If you are wanting to travel on a safari then speak to a safari operator that specialises in wildlife photography. Lots of flashy safari websites will have a section on wildlife photography safaris but often these are just standard safaris, at their preferred suppliers dressed up as a photo safari because one destination has a photographic hide for example.
Tell them what you want to see and photograph and any photo safari operator worth their salt will give you their honest opinion as to where, when and how you can make that happen. The reputation of a photo safari operator relies solely on this information and not convincing you to go on any old safari just because it might be more profitable for them.

Hot air balloon over the Mara © Charl Stols
Light is obviously a very important factor in wildlife photography and much is made of the so-called “Golden hours” or golden moment – the hour just after sunrise and just before sunset.
This doesn’t mean though that you should just put down your camera and give up for the day. Even in a harsher light, there are photographs to get and techniques to employ such as dramatic over and underexposing your images for low and high key shots.
In Africa, people are often nervous about going on safari during the rainy seasons as they think it will be just grey and miserable with bad light but that’s just not the case. Overcast conditions have the effect of diffusing the harsh African sun meaning that you can shoot for more hours in the day before excessive shadows wreak havoc on your light metering…..plus we think that cloudy skies make for more interesting backdrops to landscapes than just clear blue!

Backlit Zebra in the Serengeti zebra © Sabine Stols
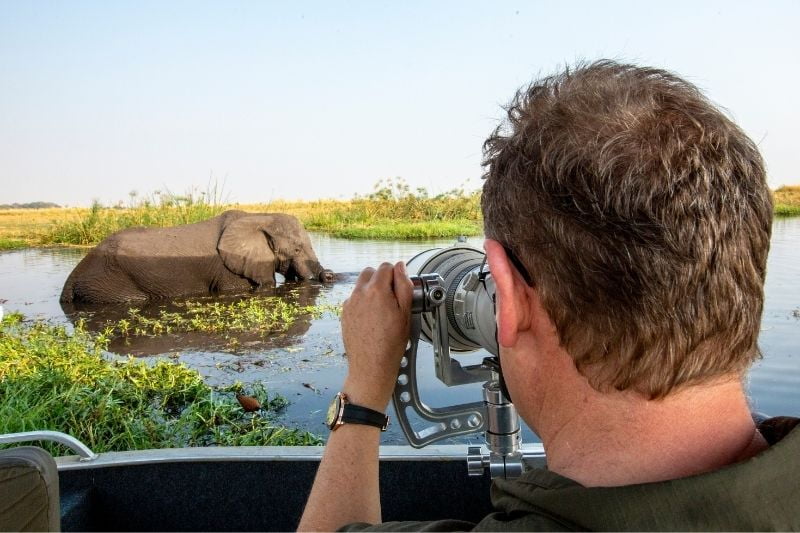
Wildlife (and Sports) photographers are synonymous with cameras with big focal length zoom or fixed focal length long lenses.
The temptation to zoom right into the subject is ever-present but if you are going to tell the story of your subject you need to remember that close-up is not always the best composition.
By including more of your subject’s environment in the image you immediately tell more of a story. Instead of it just being a lovely bull elephant portrait perhaps you now have a lovely bull elephant on the banks of a wide river with some clouds in the distance and its fellow herd members gently blurred in the background. Which image is most compelling? Both are in their own way…so take both images and cover all your bases!
If you can afford it a second camera body with a wide-angle lens will save you time but to be honest, the camera capabilities of some cellphones mean grabbing it from your pocket and firing away a few wider shots can produce good images too.

African buffalo on the Chobe River, Botswana © Charl Stols
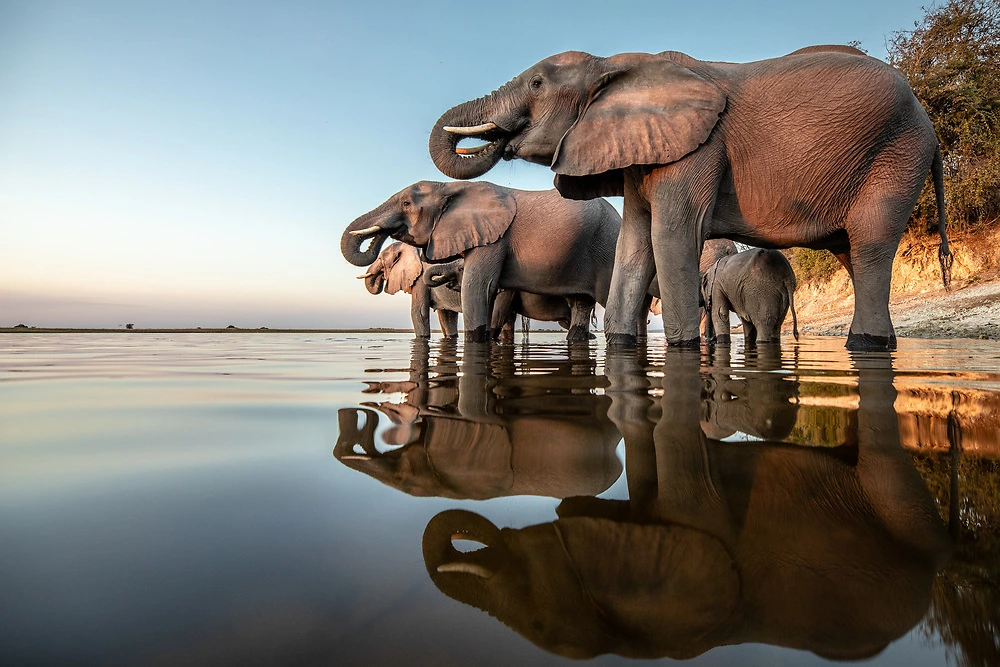
In our opinion, you can never go too low in wildlife photography. This is why waterhole hides and our photo boats (which are inches above water level) are so popular to photograph animals from.
Not only can you shoot upwards at your subject making a large land mammal that much more imposing but you can also control an important element of your depth of field.
When trying to blur out a background it’s important to maximise the distance between your subject and the background. So, if you are shooting down on an animal (close to you) from a vehicle or raised hide for example the ground (read background is very close) to your subject. If you are as close to eye level as possible the angle changes and now the background is much further away.

An African wild dog also called the African painted dog © Janine Krayer
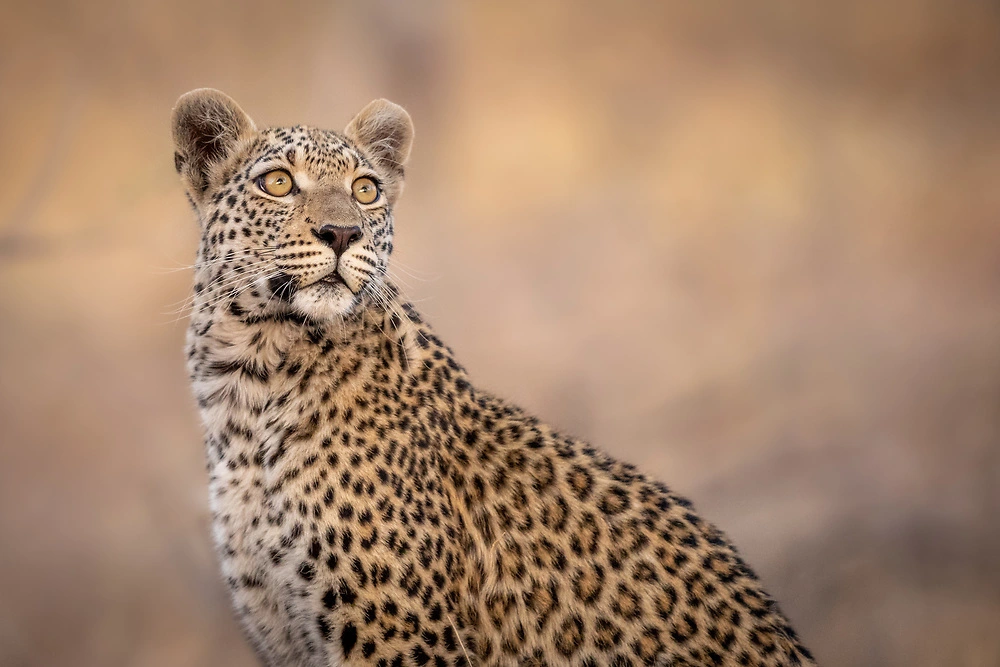
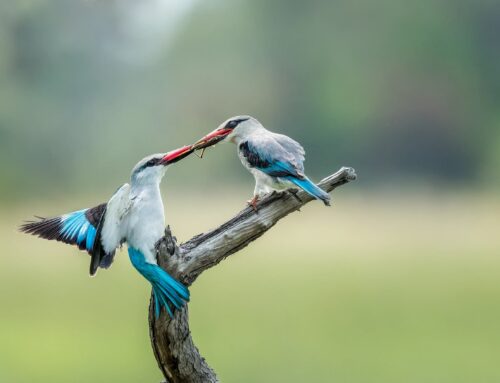
The eyes are often the first thing that we notice when we’re looking at an animal. They are the window to the soul in all mammals.
When shooting wildlife be very aware of the eyes especially when you see that glint or catchlight as it is sometimes called. That moment turns a static flat image into a great wildlife shot as the subject naturally engages with the viewer.
As for predators such as the big cats remember that they naturally have a heavier brow above the eyes, which casts a shadow, so capturing the beauty of their eyes is easier in the early morning or late afternoon when the angle of the light is flatter.

A pride of lion at a kill on the Chobe River© William teel
What is the best camera for wildlife photography? We always say it’s the one in your hand and it’s digital!
It might be a DSLR or it might be mirrorless but they have one thing in common. The only restriction on the number of images that you can take is based on the number of empty memory cards you have with you. The natural world will provide!
Memory is cheap these days so fire away on burst mode! Don’t stop taking photographs because you are worried about taking too many. If you stop you might miss something amazing. What’s the worst that can happen?
You might have to spend some extra time selecting the keepers.
Speaking of keepers don’t commit the cardinal sin of trying to cull the missed photos on your game drive or boat cruise. You have to stay ready in wildlife photography and if you are staring at the back of your screen furiously deleting rubbish photos you will miss it. Wild animals won’t wait for you to get yourself ready before they perform!

Pangolin Photo Safaris on the Chobe River © William Steel
Good wildlife photographers are patient wildlife photographers. Opportunities often come in flurries of activity interspersed with hours of searching and waiting. National Parks like The Chobe narrow down the search area but don’t think that there are photos of animals to be had at every time of day around every corner.
Relax, take a breath and tune in to nature’s sounds and smells. Listen to the birdsong. Check out the small stuff and maybe even turn your attention to a spot of landscape photography.
Time spent in the African bush is less precious when you are fretting about where your next shot is going to appear from. It will come. Trust us.

Pygmy goose in flight © Danielle Carstens
Unlike shooting a rifle we strongly suggest not aiming for the middle every time when you are photographing wildlife. A picture of a standing male lion right in the middle of your frame doing very little is boring. All it does is record the existence of that lion on that day. It might be a pin-sharp image but it probably won’t tell a story.
The image then doesn’t tell the viewer anything other than it is a lion. So you wait (see patience above) until maybe he looks in one direction and you reframe to allow him to look into the frame with more space allowed for the direction in which he is gazing.
Immediately there is intrigue in the image. The viewer asks “what is he looking at”? Is it prey or is it a potential mate arriving on the scene?
In reality, he may just be looking left and right to decide which way to go but by applying the rule of thirds and not placing the subject in the middle you have created some tension…and that’s good!

Silhouetted lioness © Sabine Stols
This is a technique employed by Pangolin co-founder Gerhard “Guts” Swanepoel and it’s simple and should be on your agenda when looking for a great shot.
All you have to do as you are framing your shot is quickly scan around the edges of the image as a whole and look for things that might distract you. Is there a dark blob of vegetation in the top right? Is there a prominent stick or branch emerging from the bottom left that will be a nightmare to clone out later?
Scan around the image (clockwise or anticlockwise) and looks for these distractions. If you find one wait, think about it and if you can reposition for the shot. You might even have to wait for the animal to move slightly to hide the intrusion but get into the habit of doing Border patrol and spend less time throwing away images.

A leopard yawns in dense bush © Sabine Stols
We hope you have found this list of wildlife photography tips useful and not too heavy going. Remember that everyone started in wildlife photography at the same level. Don’t be afraid of the terminology and people with big lenses and huge camera bags. They all started somewhere.
There is no better place in the world to learn wildlife photography (and take great wildlife photos) than the African Bush, and especially The Chobe, so if you want to come and spend time with us learning the ropes you know where we are now.
Check out our seven days Best of The Chobe photo safari which is perfect for beginner or intermediate photographers. Even if you don’t have a camera with a telephoto lens yet…don’t worry. You can borrow one of ours for free! You may also build your own custom photo safari here.
Book your safari now!