Nature photography tips for beginners
Nature photography tips for beginners

Quick links
Focusing • Frame rate • Metering • White balance • Picture style
Exposure triangle • Priority settings • Best overall settings
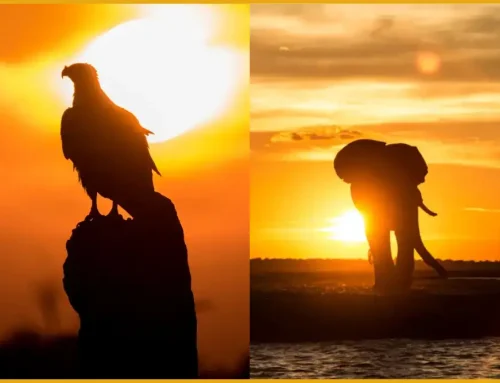
8 tips for taking breathtaking nature photographs
Have you recently bought a new camera for an upcoming safari or simply haven’t dusted yours off for a while? No need to worry, Pangolin Photo Host and professional wildlife photographer, Janine Krayer, has put together her most important tips for nature photography so that you’re set up for success from the get-go.
In this blog, we’ll cover camera settings, different techniques, lighting conditions, processing raw images and other key things to help you become a confident nature photographer.
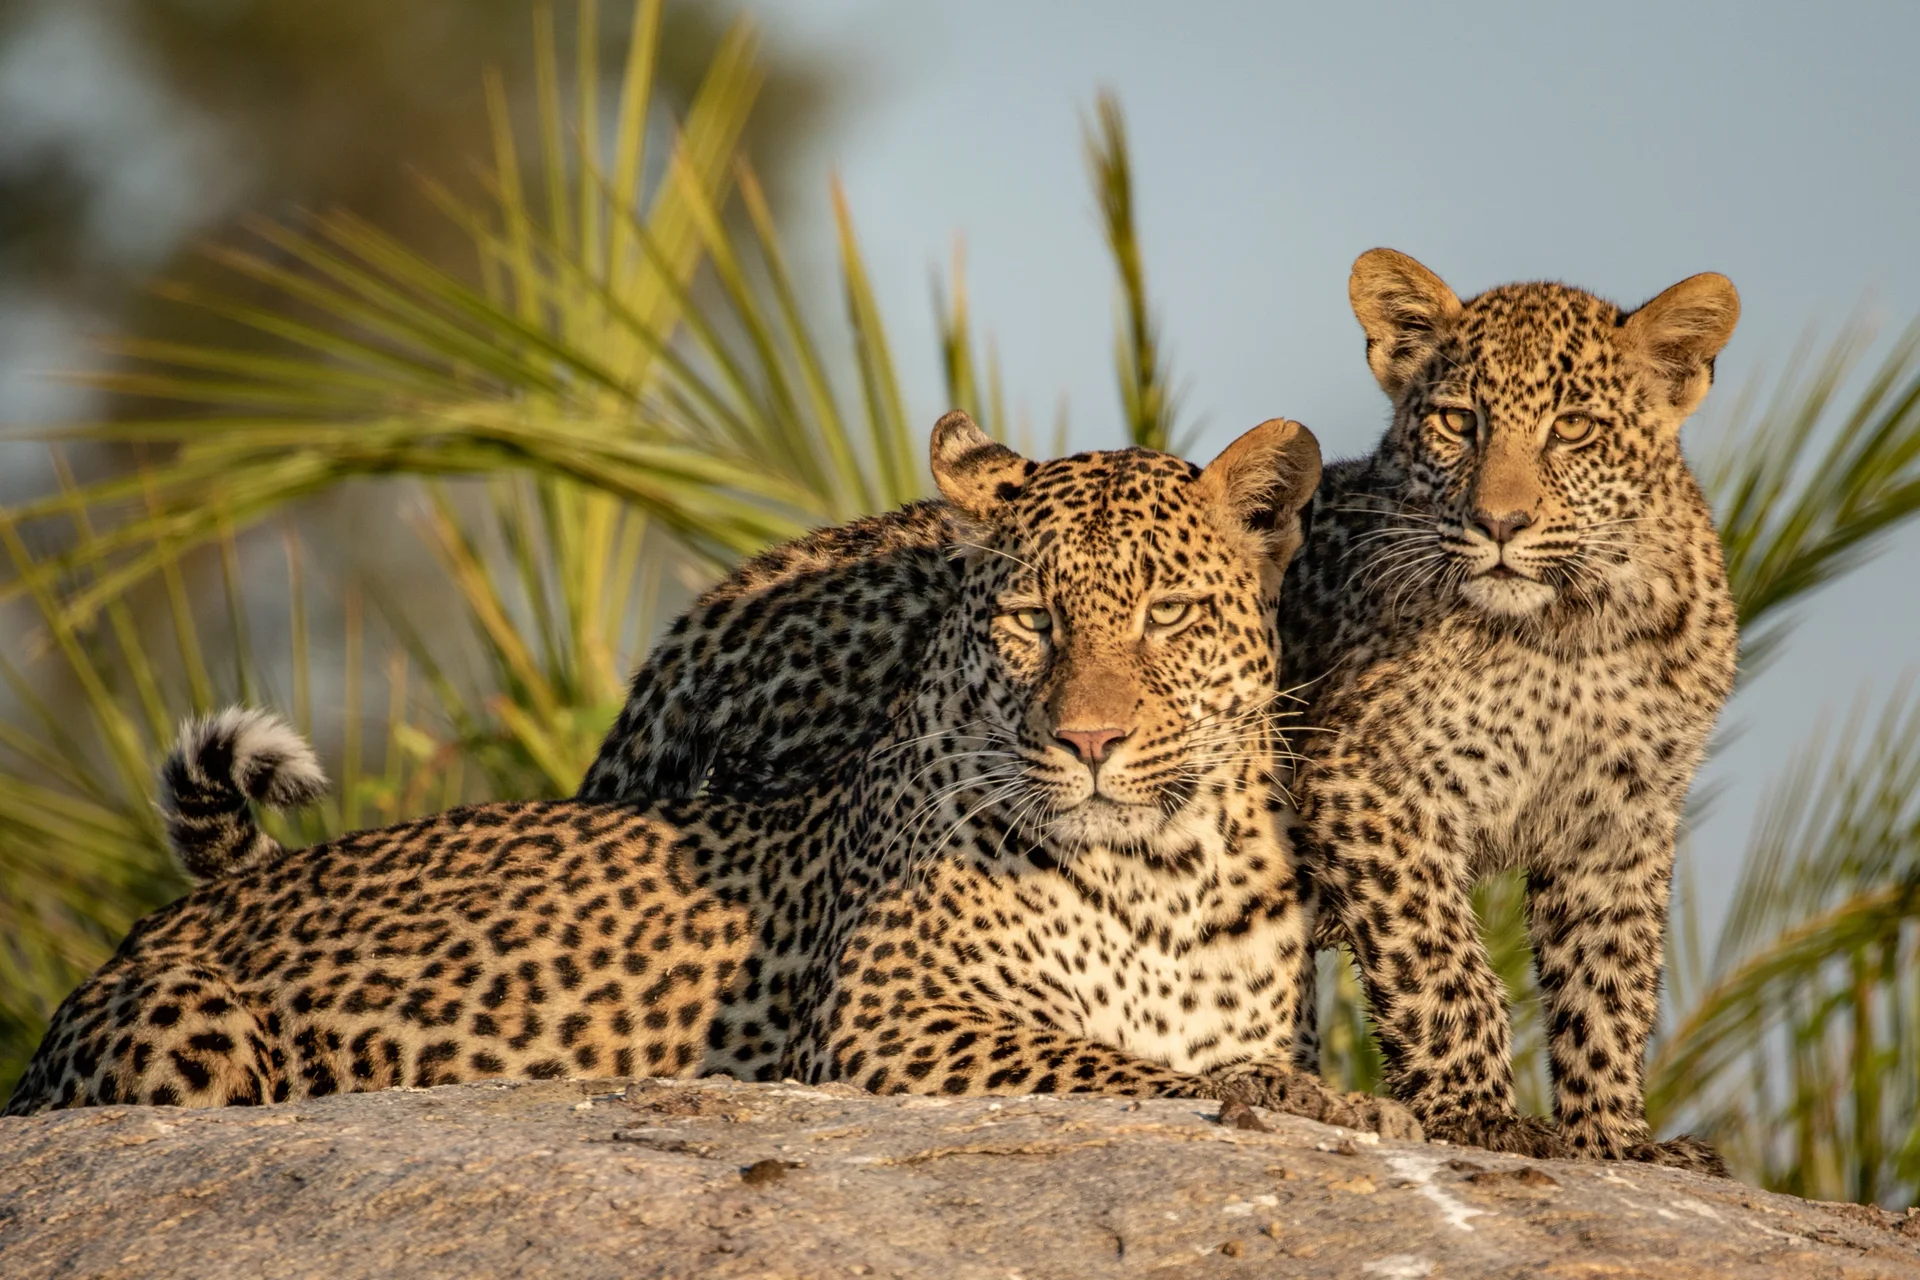
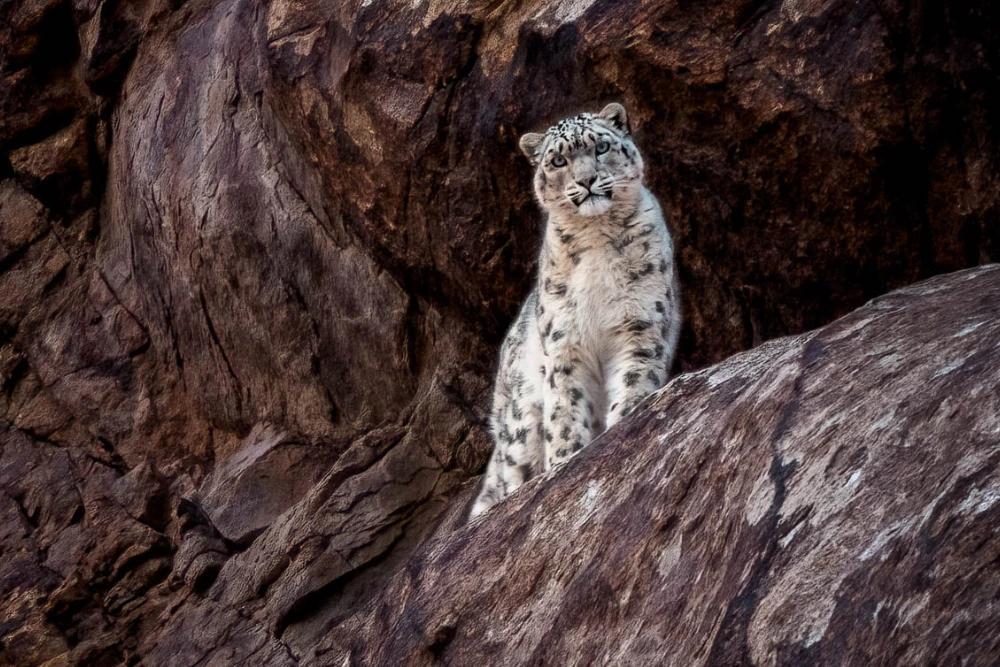
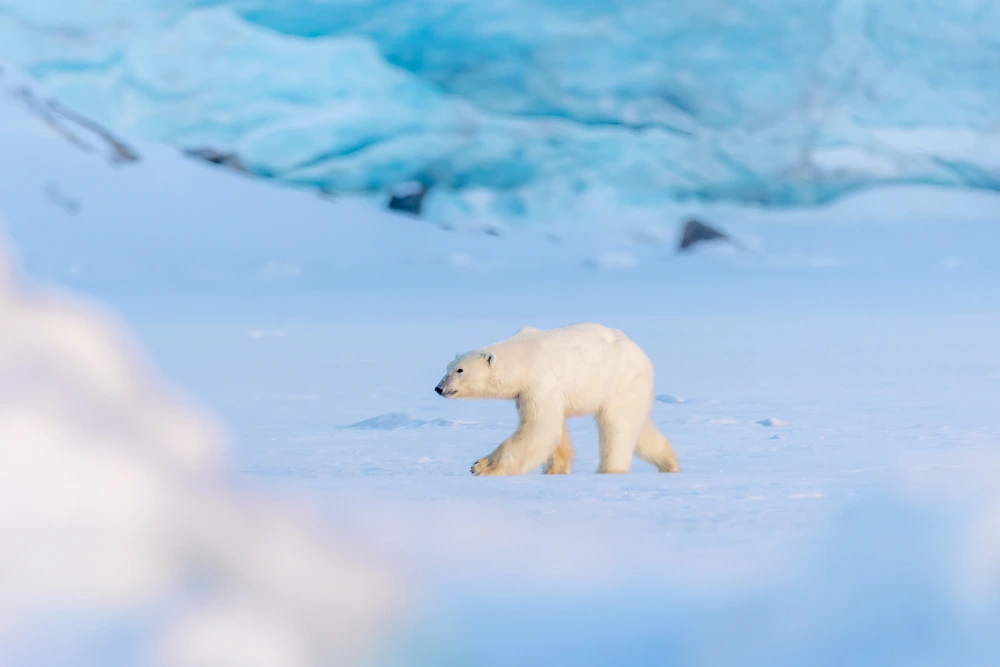
Nature and wildlife photography often go hand in hand, so here we will cover both wildlife photography tips and of course, nature tips too! If you’d prefer to go into a little more detail on each topic, especially for wildlife photography, watch the videos below.
One of the most important factors of nature photography is getting your focus right. After all, everything seems to be moving and often unpredictably. This is also true for wildlife photography of course. To manage that, you will have to set your camera to continuous autofocus or AI Servo. That means you will be able to continuously focus and track moving subjects by simply keeping your finger halfway on your top focus button, or full on your back button. Learn more about autofocus here.
Once you set your focus drive correctly, you now need to choose your focus point selection. Most modern cameras (mirrorless cameras) offer some sort of animal eye tracking that makes the process so much easier. While eye tracking is great for birds for example, for larger slow-moving mammals like elephants, single-point focus is still an asset to use. For DSLR cameras, it is helpful to set up cluster focus as well. Pangolin Photo Hosts Sabine and Danielle cover this in the below video.
You might have photographed on single shot for most of your life, maybe because your focus was on portrait and landscape photography. However, a top wildlife photography tip would be to switch to Continuous Shooting and change your settings to shoot more than six frames per second and less than sixteen. This way you’re still sure to get the perfect image without filling up your Lightroom catalogue too quickly.
Let’s double-check your metering mode! Your metering mode will affect the way you will use your exposure compensation in wildlife and nature photography. Metering essentially determines how the camera measures the quantity of light that enters. It breaks up your frame into little squares for evaluation and finds an average of how bright your image is overall. If your camera meters the frame to be very bright it darkens your photograph to match the middle grey (18%) and if your camera meters very dark, it brightens your frame.
Each camera has a multitude of options on how to meter the brightness. It can either measure the entire frame or choose a smaller area to evaluate. Your factory settings will more than likely be set to measure the entire frame which is ideal for landscape photography. However, our nature photography tip here is to expose for the animal or subject rather than the backdrop.

Choosing a smaller metering area such as a partial spot or centre-weighted comes with its own challenges and these metering modes often only measure the centre of your frame. So, what is the correct metering to photograph wildlife?
To be honest, every single picture you take might have a slightly different exposure as your camera evaluates subtle changes in light based on the location of the meter moving across your frame. Stick to your factory settings and use matrix or evaluative matrix evaluative metering. This setting will give you the most consistent light measurement and will not randomly change the brightness of your frame. As nature photographers, over and underexposing will have to become part of your shooting habits though. The more background is in your frame, and the more it differs in luminance from your subject, the more you must compensate for it.
Top nature photography tip: If your subject is darker than your backdrop, you overexpose, and if your subject is brighter, you underexpose. Want to learn more? Check out Sabine’s video below.
If you shoot in raw, this isn’t something you need to worry about too much as all your information is being recorded and you can always change and adjust in post-production. However, our wildlife photography tip would be to adjust your white balance though as we don’t like the camera to change the temperature automatically without manual input. We can recommend a set Kelvin of 5,200 during the day – sometimes this can make your pictures a bit warm during the golden hour: drop this in post-production.
If you do shoot in JPEG though you will have to set your white balance consciously as you will be limited with your information and postproduction. You can set it in the morning at the 5,200 we mentioned earlier (depending on the weather) and then towards the end of the day when the sun is getting low and golden lessen it. Otherwise, your animals will be too yellow.

This is something that will drastically vary on what quality you’ll be shooting on. If you shoot on RAW, your picture style will be reflected both on your camera LCD screen when reviewing your images, as well as within your brand-owned post-production software such as Canon’s DPP or Nikon NX for example.
However, it will not truly affect your RAW file as you can edit it to your liking with all the raw files information still at your hands. It is basically a display of how it could potentially look like, one out of many possible previews, but you can disassemble it and edit it differently. Adobe, for instance, doesn’t show any of the colour profile and picture controls you have chosen when importing it into Lightroom or Camera RAW.
Shooting on JPEG, however, means you are defining the image to look exactly as set in your camera including your sharpness, vividness, clarity, tone, contrast etc. You cannot change it in post-processing and make a careful choice based on the type of wildlife subjects you want to shoot.
Photography tips for beginners include shooting in RAW and selecting a standard picture style and increasing your sharpness and clarity slightly to have an easier time judging an image on the small LCD screen on the back of your camera. Keep in mind that this may affect your contrast within your photos and therefore bias your histogram.
If you would like the best representation of where your whites and black are within the scope of your histogram, it is probably best to shoot on a neutral or flat colour style as a base for your RAW. If you do decide to shoot in JPEG, the standard picture style is also a very versatile way of shooting however, here you do not want to push your sharpness levels up. Based on how high your ISO is a higher sharpness level can increase your noise level and your photos will look grainy and over-sharpened. Rather add some additional sharpness in post-processing.

These first five nature photography tips are the basics of what to keep in mind when setting up your camera and learning a little more about your options. Next up, we’re going to dive into what your ideal settings should be for nature photography regardless of the shooting mode you choose.
Understanding the exposure triangle will allow you the freedom to start exploring the more creative side of nature photography. This is often the difference between fine art photography and capturing a “memory shot”. Ultimately, the exposure triangle is the visual representation of the relationship between your shutter speed, ISO and aperture. These three elements are the components of achieving a properly exposed photograph. If you understand how to control or adjust these elements, you are setting yourself up for success. Sabine talks more about this relationship and how to capture interesting and compelling photos.
#1 – Shutter speed
When it comes to both wildlife and nature photography, a fast shutter speed is often the height of our priorities and there are two reasons for that. Firstly, to capture animal behaviour and secondly not to miss action shots and animal interaction. Having a faster shutter will help you capture and freeze a moment in time for captivating photos. Technology is constantly changing, especially when it comes to camera bodies and lenses and while yes, image stabilization in both has improved dramatically – we do need to still account for our own camera shake when holding larger telephoto lenses for example.
A good rule of thumb, if you’re worried about camera shake, is to never shoot slower than double your focal length. This applies to long focal lengths as well as short ones.
For example, if you’re shooting with a 500-millimetre lens, you need to acquire a minimum shutter speed of 1/1000 of a second, even for a still-standing animal portrait. However, with the new camera set-up (i.e., newer mirrorless camera equipment), you can shoot a bit slower than that, but why risk it if you have enough light? Anything under your focal length will decrease the chances of a sharp image which is not something you want in wildlife photography.

Shutter speed cheat sheet
○ Slow Moving & Portrait: 1/1250
○ Moving Mammals: 1/1600
○ Freezing Water Splashes: 1/2000
○ Larger Birds in Flight: 1/2500
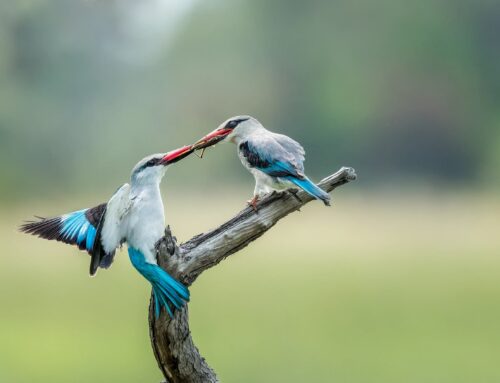
** If you’re wanting to capture smaller birds in flight like your kingfisher or hummingbird for example your shutter speed needs to be much faster than that.
To be able to acquire such fast shutter speeds and sharp photographs, in turn, we often need to compromise and let the light in through the other two remaining gateways, which are the aperture and ISO. They now need to work so much harder to get the required amount of light onto your canvas. Therefore, our second priority is the aperture.
#2 – Aperture
Luckily, it is more likely than not that as a photographer you want to place attention on the animal. The better the background blurs out, the less the viewer gets to distracted from our storytelling. That requires a shallow depth of the field, which is equivalent to a small F stop and a wide aperture.
Essentially, this means that your goal of creating a shallow depth of field aligns with the goal of letting in a lot of light to compromise for the fast shutter. Think of it like this F8 is equivalent to the human eye. You will often notice that wildlife photographs that stand out to us are usually photographed at a lower F stop as the shallow depth of field is what draws our attention to the animal. A blurry (bokeh) background is basically what places the animal in the spotlight.

#3 – ISO
The last light parameter, the ISO, is not so much of a priority when it comes to wildlife and nature photography. Yes, ISO does create noise which some people truly do stress over, however, there are many software systems in place to help reduce the presence of noise in photos. ISO is simply there to supplement the remaining quantity of light needed to achieve the required exposure. A handy nature photography tip is to keep your settings on Auto ISO.
The exception to these priorities, however, is when you are lacking enough light to start off with. So, for example when your ISO becomes so high that the noise levels become unacceptable. Every camera has its own threshold for this. If you reach that threshold or come close to it, you will have to start compromising first on your aperture and last, because it is the priority on your shutter. As a wildlife photographer, regardless of what creative effects you are after, you always need enough light on your sensor.

So, what is the answer when it comes to settings for wildlife photography? Manual mode with auto ISO and here’s why:
#1 – Status quo settings
This would be your baseline settings, so that at any given time you can pick up your camera and get a fast safety shot without having to think about your settings, wasting time and missing the opportunity. You may be thinking when would this happen and the answer is that in nature and wildlife photography, you always need to be prepared for the unexpected – those once-in-a-lifetime experiences for example. You are dealing with wild animals here!
As mentioned earlier on, 1/2500 should freeze most movement and then a larger depth of field (f/8 – f/12) is a good safety margin to get everything in focus. Lastly, keep your exposure compensation on 0 as you never know what you’re going to encounter and the light it will be in.
If you’re going out on a bad weather day, you might want to overexpose (+0.3) a little as most animals will look dark. Of course, every environment is different and if you know that you will be in a low-light environment or out in the early morning and your ISO has met its threshold you might have to start comprising and see how close you get to the above suggestions.

#2 – Action shots and interaction
Essentially, your status quo settings come close to action shot settings as it is those scenarios that usually get us flabbergasted, frantic, and inaccurate.
However, if you have a moment, you might want to double-check that your animal does not move any faster than 1/2500 of a second. If you shoot fast-moving action, you might want to go as fast as 1/4000 of a second. You might also want to double-check your aperture and save some light by reducing your F-stop if your animal happens to be far away. That is because your depth of field automatically increases the further your animals are away from you.
In that scenario, there is no need to steal light by closing down your aperture setting.

#3 – Portrait shot
Lastly, a portrait shot should usually give you enough time to quickly reconsider your settings. It is usually a slower-moving animal so you can drop your shutter speed to around 1/1000 of a second.
In wildlife photography, with a portrait shot, you often want to create the most aesthetically pleasing photos which often include a soft background. Therefore, you would want to drop your F stop as low as your lens allows.
A wildlife photography tip, if you can reach an F 2.8, just be a little bit careful as your depth of field will become incredibly small and you will need to be spot on with your accuracy.

So, there you have it, our top wildlife photography tips! In summary, when you’re approaching your subject – ask yourself:
○ Exposure: Is my animal darker or brighter than my background?
○ Shutter: How fast is my animal moving?
○ Aperture: How many focus layers do I need? What depth of field do I require?
○ Can my ISO sustain the above choices I am making?
Want to put these tips for beginners into practice and work at becoming a wildlife photographer?
Leave A Comment