Why Your Wildlife Photos Look Sharp on Safari (But Blurry at Home)
Why Your Wildlife Photos Look Sharp on Safari (But Blurry at Home)
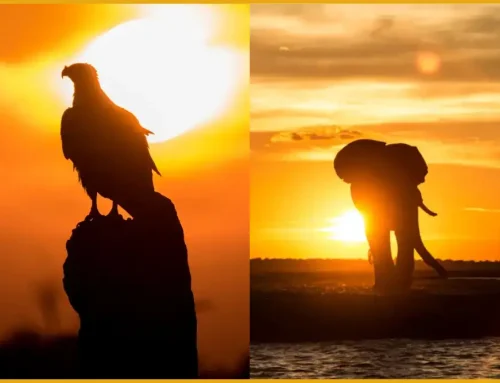
Picture this: You are sitting in an open safari vehicle, heart pounding, as a magnificent leopard steps out from the bush. You track the animal, find the light, dial in your settings, and fire off a burst of shots.
Zooming in on your camera’s small 3-inch LCD screen, the focus looks tack-sharp. Weeks later, you open the files on your desktop monitor at home, eager to see your masterpiece. But the excitement completely evaporates. The image is soft, blurry, and the magic is gone.
It is one of the most disheartening feelings in wildlife photography, and it happens to everyone. Why does this gap between your camera screen and your computer exist?
Want to watch the full episode?
Want to watch the full episode?
The Illusion of the Small Screen
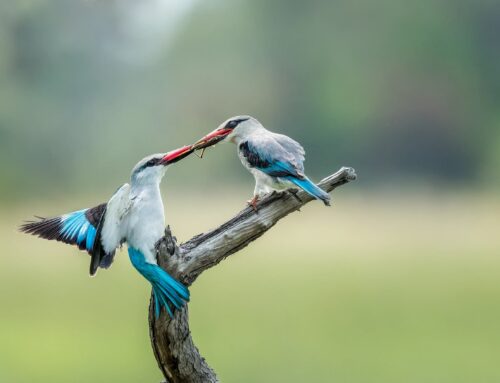
Your camera’s LCD screen is a master of deception. Because the display is so small and compressed, it naturally hides micro-movements, atmospheric interference, and tracking slip-ups that become painfully obvious when stretched across a high-resolution monitor.
The secret to fixing blurry wildlife photos isn’t waiting until post-processing to rescue them with software. The secret is knowing how to outsmart your screen and properly diagnose sharpness mistakes while you are still sitting in the vehicle, giving you the chance to correct your settings and take the shot again.
Master Your Field Techniques
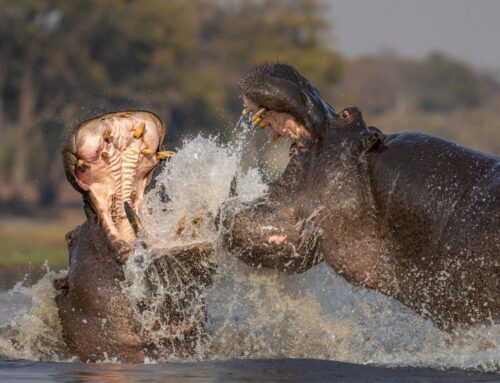
You shouldn’t have to wait until you return home to find out a bucket-list photo was missed. In our latest video tutorial on the YouTube channel, Janine takes you step-by-step through the top five reasons wildlife photographs lose sharpness and breaks down the exact field check-points we use to guarantee tack-sharp portraits every time.
Don’t let a hidden setting ruin your next big wildlife sighting.
Leave A Comment