Mastering Wildlife Silhouettes: Pro Tips for Bold, Dramatic Images
Mastering Wildlife Silhouettes: Pro Tips for Bold, Dramatic Images
You’d think photographing a wildlife silhouette would be easy. Just point your camera at the glowing sky and fire away, right? But anyone who’s tried it knows how often those shots fall flat. The animal’s outline isn’t defined, the colours look dull, or the scene simply lacks that magic you saw with your own eyes.
In this guide, professional wildlife photographer and Pangolin Photo Host, Charl Stols takes us through the professional approach to wildlife silhouettes. From picking the right subjects to locking in the perfect Kelvin settings, here is how to guarantee a bold, clean result every time.
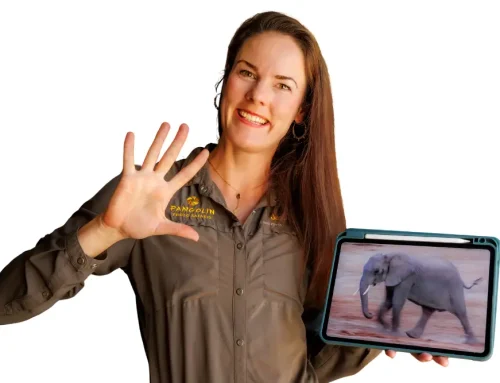
Want to watch the full episode?
Want to watch the full episode?
What is a Wildlife Silhouette?
What is a Wildlife Silhouette?
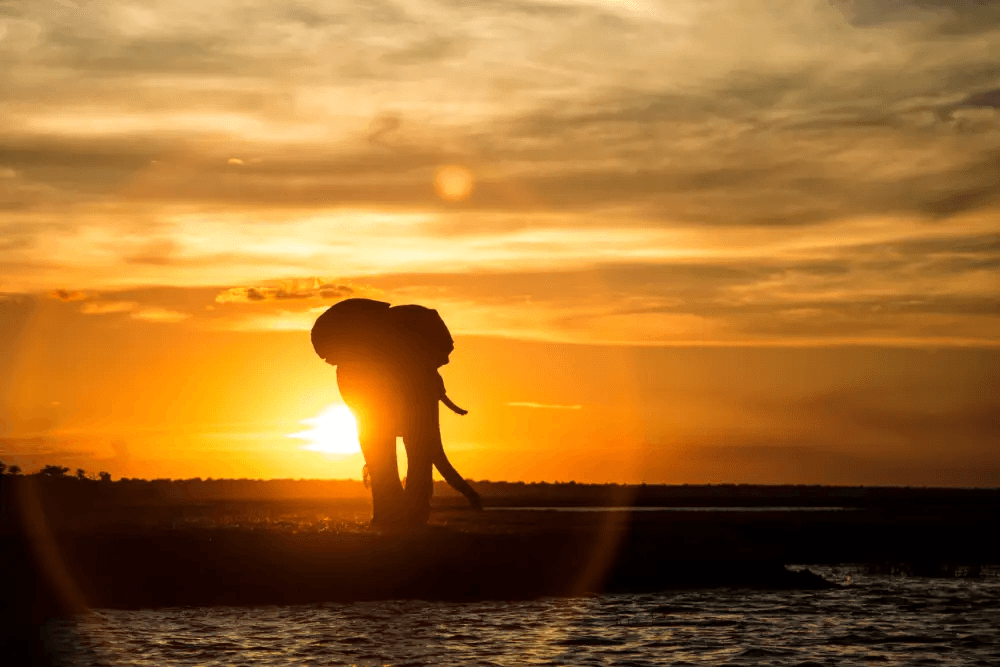
1. Timing and Light
- Timing is the foundation of a successful silhouette. The best opportunities occur during sunrise or sunset when the sun is low in the sky. This positioning provides the ideal lighting conditions to create that stark separation between the animal and the horizon.
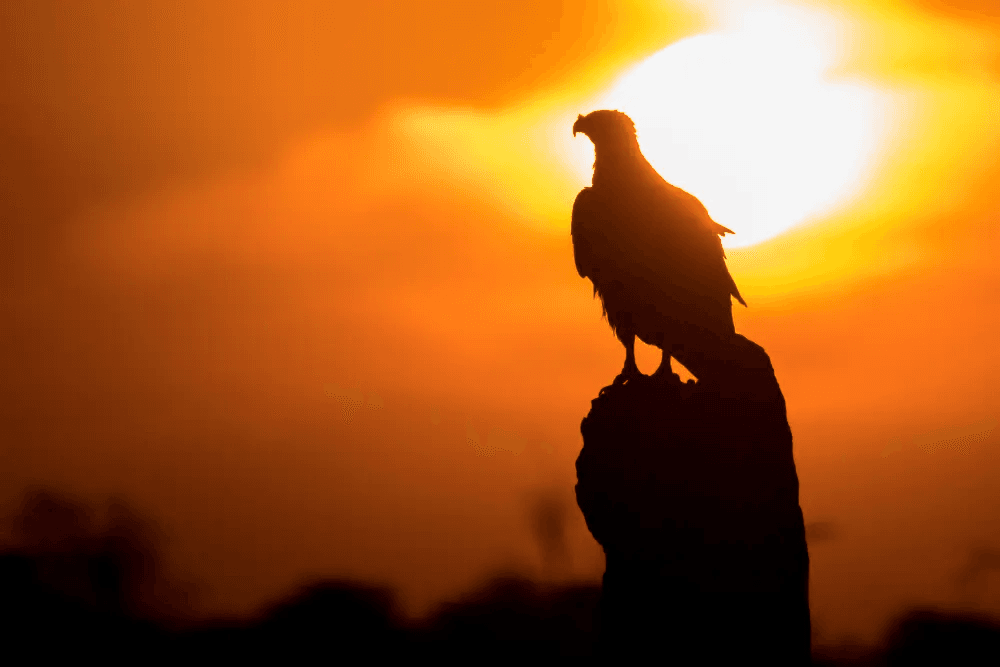
2. Subject Selection and Positioning
- Not every animal makes a great silhouette. You need a subject with a strong, recognisable shape. Think:
- A bird in flight.
- A giraffe on the horizon.
- A lion with its head held high.
- Pro Tip: Place the sun or the brightest light source directly behind your subject. This creates the sharpest contrast and a striking visual impact.
3. The Best Camera Settings for Silhouettes
- To get the right balance, you want to underexpose your image. This preserves the rich colours of the sky while keeping the subject completely dark.
- Mode: Manual or Manual with Auto ISO.
- Aperture: Use a small aperture between f/8 and f/11 for edge-to-edge sharpness.
- ISO: Keep it as low as possible to reduce noise.
- Shutter Speed: This depends on your subject’s movement:
- Static subjects: 1/500th.
- Slow-moving (walking lion): 1/800th.
- Fast-moving (birds in flight): 1/1600th or higher.
4. Mastering Focus and White Balance
- High-contrast scenes often confuse autofocus systems. To fix this, use a single focus point and place it on the edge where the subject meets the sky. If your camera still struggles, switch to manual focus with focus peaking enabled.
- For the “look” of the photo, move away from Auto White Balance and use Kelvin (K) settings:
- 4,000K – 5,000K: For a cooler, crisper, blue-hour look.
- 6,000K – 8,000K: For that classic, warm, golden-hour glow.
5. Common Silhouette Mistakes to Avoid
- The Horizon “Cut”: Avoid having the horizon line pass through the animal’s head or body. Position yourself so the horizon sits clearly above or below the subject.
- The “Blob” Effect: Ensure there are clear gaps between animals. Overlapping legs or merging heads ruin the outline.
- Blown-out Skies: If the sky is too bright, you lose the drama. Dial down your exposure until the sky is rich with detail.
- Wide Apertures: Shooting at f/2.8 can make parts of your subject soft. Stop down to f/8 to ensure the entire outline is crisp.
- Motion Blur: Silhouettes require sharp edges. Raise your shutter speed to freeze movement, even if it means bumping your ISO slightly.
Leave A Comment